The Ultimate Guide to Capturing Perfect Pumpkin Photos
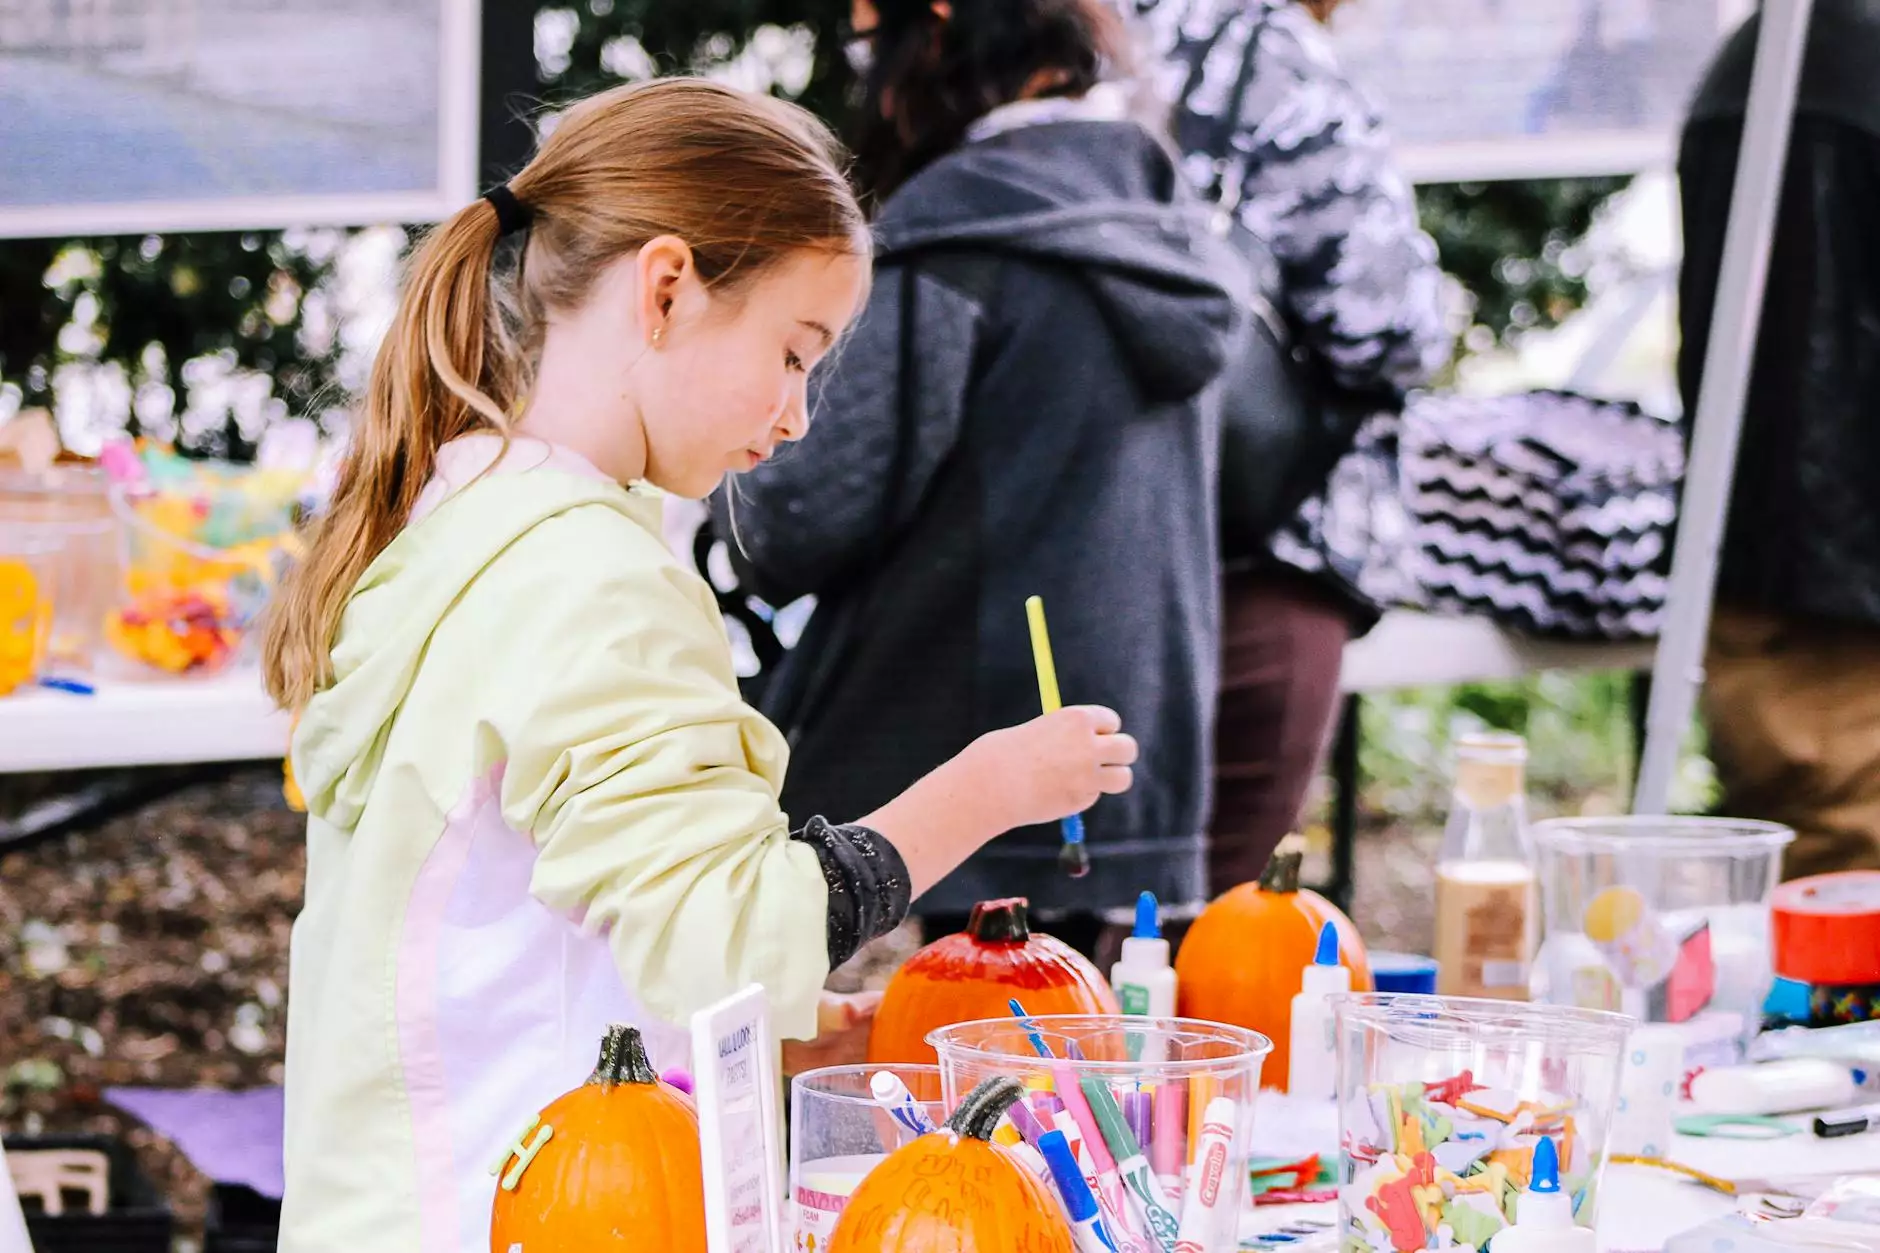
As the leaves turn and the air becomes crisp, pumpkin photos become a staple of autumn photography. Whether you are a seasoned photographer or a casual smartphone snapper, capturing the beauty of pumpkins can enhance your portfolio and create lasting memories. In this article, we will explore various techniques, tips, and settings to help you take the most stunning pumpkin photos this fall.
Why Pumpkin Photos Matter
Throughout the years, pumpkins have become much more than just a symbol of Halloween. They represent harvest time, family gatherings, and the beauty of nature’s transitions. With their warm colors and unique shapes, pumpkins provide an excellent subject for photography, allowing you to create beautiful, visually striking images. Capturing pumpkin photos helps preserve these fleeting moments of fall magic.
Understanding Your Subject: The Pumpkin
Before diving into the details of photography, it's crucial to understand what makes pumpkins unique. Here are some characteristics to consider:
- Shape and Size: Pumpkins vary dramatically in shape and size, from small gourds to large, round varieties. Experimenting with different shapes can yield interesting compositions.
- Color: The vibrant orange hues of pumpkins contrast beautifully against the earthy tones of fall foliage. Additionally, white and green pumpkins offer unique alternatives.
- Texture: The rough exterior of a pumpkin adds depth and interest to photographs. Make sure to capture that texture through close-ups.
Essential Equipment for Taking Pumpkin Photos
To capture the very best pumpkin photos, having the right equipment is important. Here’s a list of essential gear that can elevate your photography:
- Camera: A DSLR or mirrorless camera is ideal, but high-quality smartphone cameras can also produce stunning results.
- Lens: A macro lens for close-up shots and a wide-angle lens for landscapes can diversify your portfolio.
- Tripod: Stability is key, especially in lower light conditions. A tripod ensures your photos are sharp and well-composed.
- Reflectors: Use reflectors to bounce light onto your pumpkins, highlighting their features and colors effectively.
- Editing Software: Post-processing tools like Adobe Lightroom or Photoshop allow you to enhance your images further.
Finding the Perfect Pumpkin Patch
Location can greatly influence the success of your pumpkin photography. The picturesque settings available at various pumpkin patches provide unique backdrops. Here's how to select the right one:
- Scenic Views: Look for patches that offer beautiful landscapes, rolling hills, or charming barns that complement the pumpkins.
- Diversity of Pumpkins: Choose a patch with assorted pumpkin varieties, such as mini pumpkins, decorative gourds, and traditional orange types.
- Lighting Conditions: The golden hour – shortly after sunrise or before sunset – provides the soft, warm light perfect for photography.
Tips for Capturing Stunning Pumpkin Photos
Now that you have your gear and location sorted, it’s time to get creative. Here are some practical tips to help you snap incredible pumpkin photos:
1. Use Natural Light
The best photography often utilizes natural light. Avoid harsh midday sunlight, which can create unflattering shadows. Instead, aim for early morning or late afternoon shoots for evenly lit, warm photographs.
2. Focus on Composition
Utilize the rule of thirds to compose your shots. Place your subject off-center to create a more dynamic and engaging image. Include elements around the pumpkin, like falling leaves or rustic wooden crates, to add context.
3. Get Close
Don’t be afraid to experiment with close-up shots. Capturing the intricate details of a pumpkin's texture can create a captivating image that showcases its uniqueness.
4. Play with Depth of Field
Using a wide aperture (low f-stop number) can create a beautiful depth of field effect, blurring the background and emphasizing your pumpkin as the main subject.
5. Experiment with Angles
Changing your perspective can significantly alter the impact of your photograph. Try shooting from above, below, or at eye level to find the most compelling view of your pumpkins.
Editing Your Pumpkin Photos
Once you've captured stunning pumpkin photos, it’s time to refine them through editing:
1. Adjust Brightness and Contrast
Ensure your images pop by adjusting the brightness and contrast. Make the oranges more vibrant and the highlights stand out without losing detail.
2. Crop for Impact
Sometimes, a simple crop can improve composition and eliminate distractions from your image, creating a stronger visual impact.
3. Color Correction
Use editing tools to correct any color imbalances. Enhancing the orange hues of the pumpkins can help them stand out against cooler backgrounds.
Showcasing Your Pumpkin Photos
Once you’ve perfected your pumpkin images, it’s time to share them. Here are some great avenues to showcase your work:
- Social Media: Platforms like Instagram and Pinterest are excellent for sharing your pumpkin photos with a wider audience. Use relevant hashtags like #PumpkinPhotos and #FallPhotography to engage with other enthusiasts.
- Photography Websites: Create a portfolio or blog where you can display your images and share the stories behind your pumpkin patches.
- Local Exhibitions: Consider entering local photography contests or exhibitions, featuring your pumpkin images to attract attention from the community.
Conclusion
Fall is a wonderful time for photography, and capturing the essence of this season through pumpkin photos is both rewarding and fun. With the right equipment, techniques, and a little creativity, you can create stunning images that celebrate the beauty of pumpkins and autumn. So grab your camera, head to your local pumpkin patch, and start snapping those perfect shots!
